OLLVM源码编译和使用
一、准备阶段
1.1 工具配置
编译ollvm需要用到的工具如下:
- cmake
- gcc 8.x
- g++ 8.x
gcc和g++的版本得是8.x的版本,通过如下指令安装:
1 | |
如有多个版本的gcc和g++,需配置优先级:
1 | |
1.2 修改ollvm源码
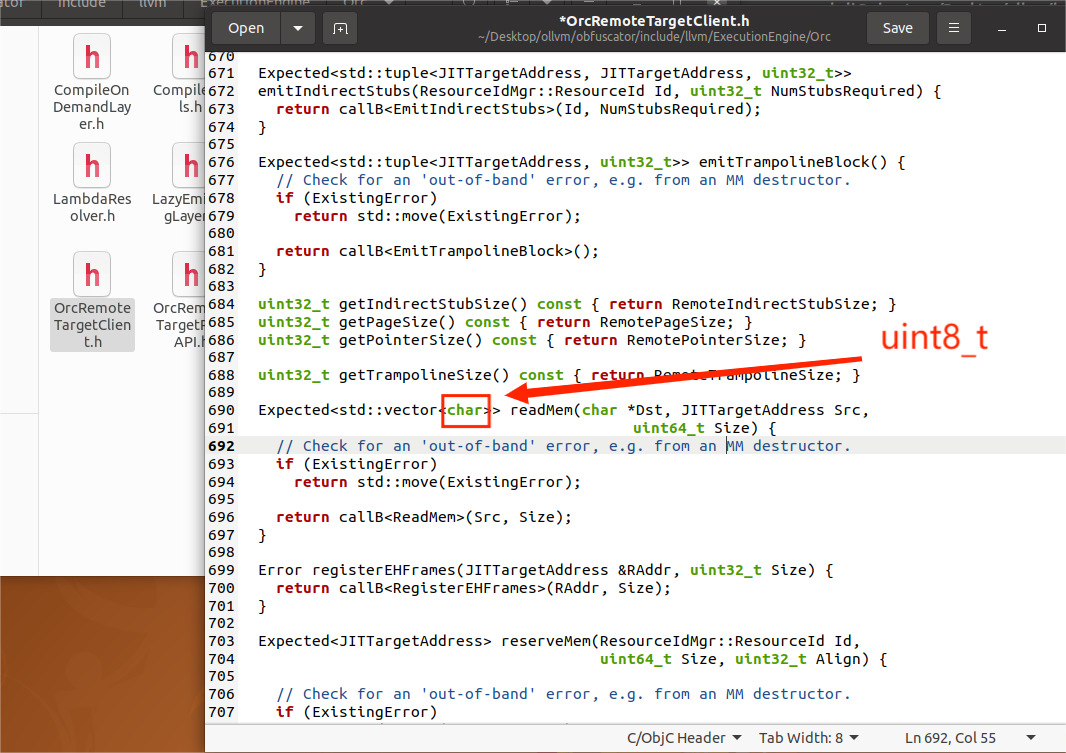
编译阶段会出现如下错误:
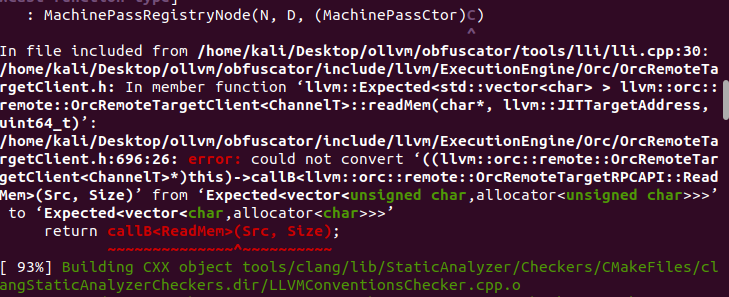
意思是ollvm/obfuscator/include/llvm/ExecutionEngine/Orc/OrcRemoteTargetClient.h中的readMem函数的返回值类型和函数定义的返回类型有冲突,需要将第690行的char改为uint8_t,具体如下:
二、开始编译
下载ollvm源码:
1 | |
创建build目录并进入该目录:
1 | |
执行如下指令:
1 | |
wiki中没有-DLLVM_INCLUDE_TESTS=OFF,但是会报错CMake Error at cmake/modules/AddLLVM.cmake:1163 (add_custom_target)。
如果cmake阶段出错了,记得清除build缓存(直接重建build文件夹)。
执行如下命令开始编译:
1 | |
我这台虚拟机有8个处理器,所以弄个-j7。
三、使用
3.1 指令替换
可选指令:
1 | |
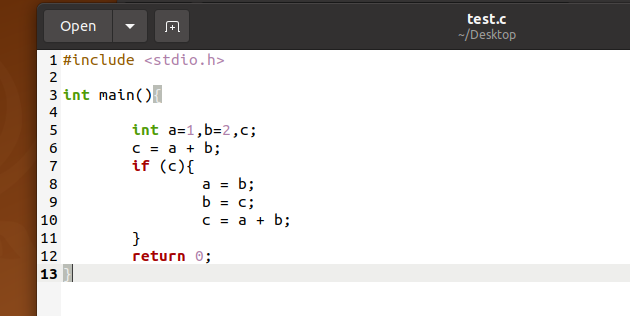
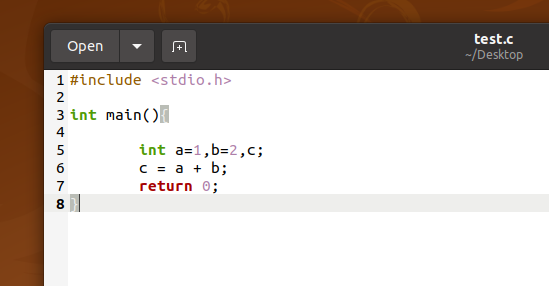
源码:
使用的混淆指令:
1 | |
对应的混淆结果:
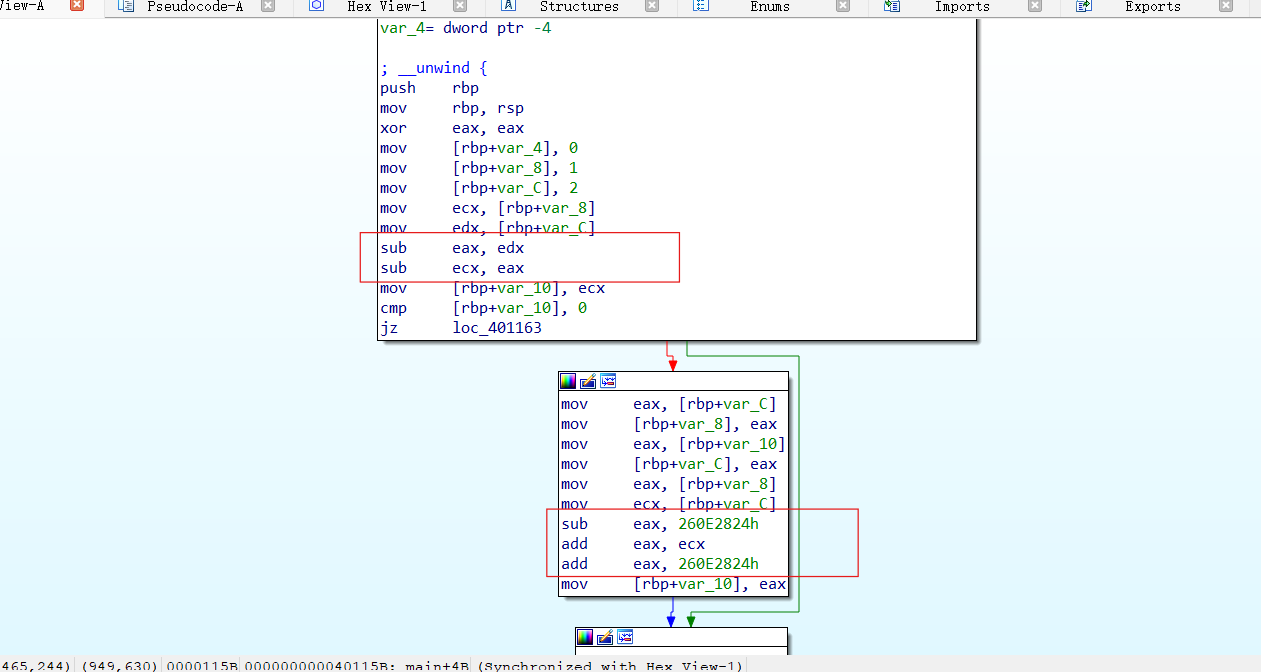
第一个c=a+b被替换成了减法运算,第二个c=a+b额外加入了一个随机数。
3.2 虚假控制流
可选指令:
1 | |
源码:
使用的混淆指令:
1 | |
对应的混淆结果:
太长了,只展示控制流图。
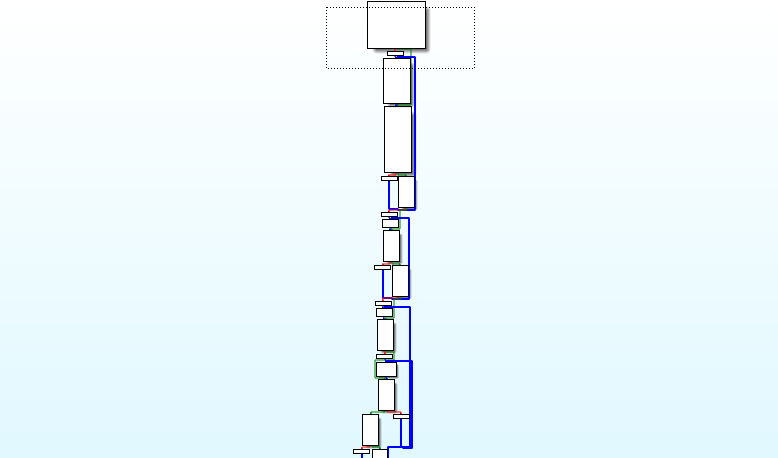
里面添加了很多条件跳转、循环。
3.3 控制流平坦化
可选指令:
1 | |
源码:
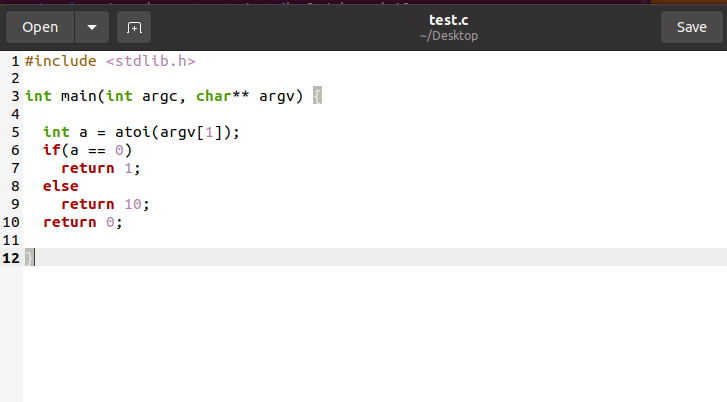
使用的混淆指令:
1 | |
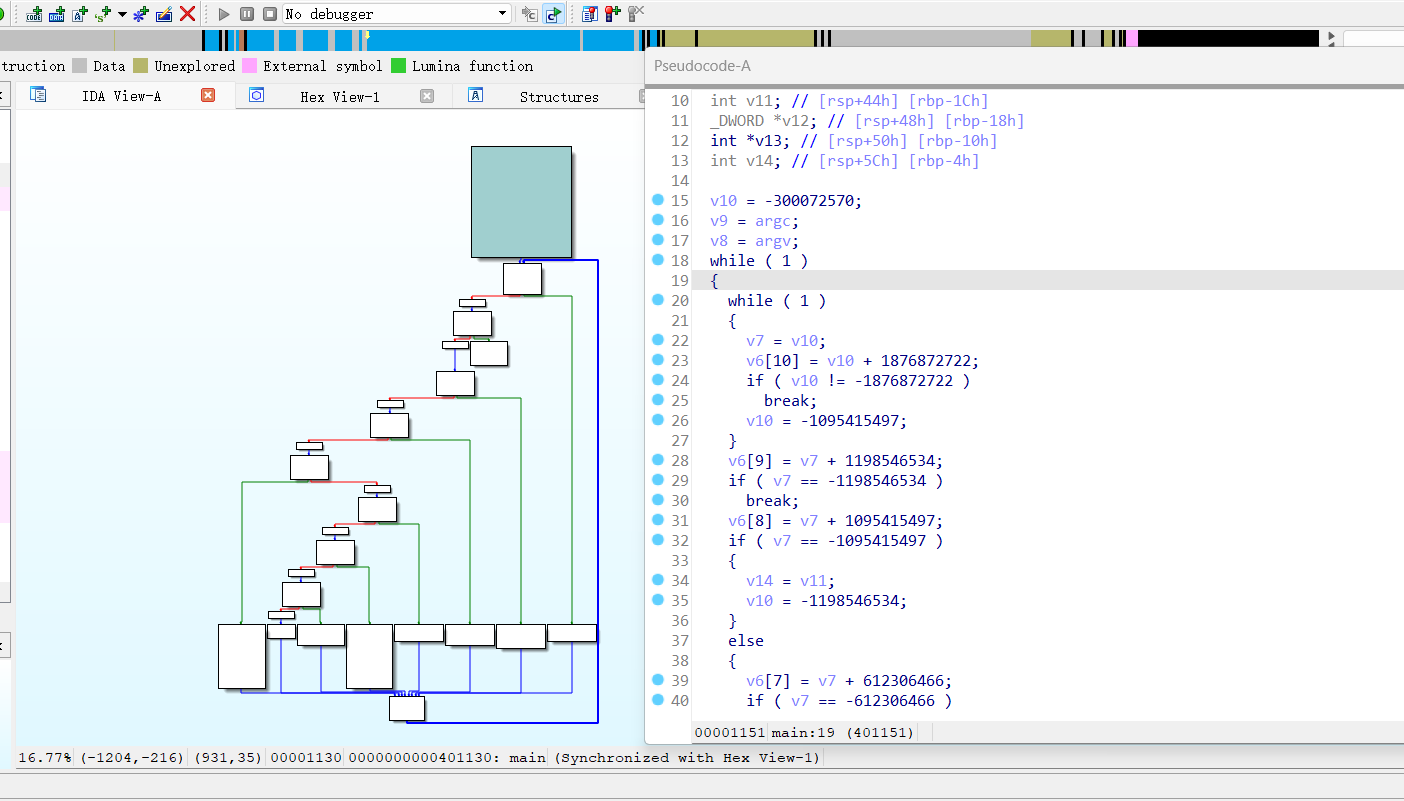
对应的混淆结果:
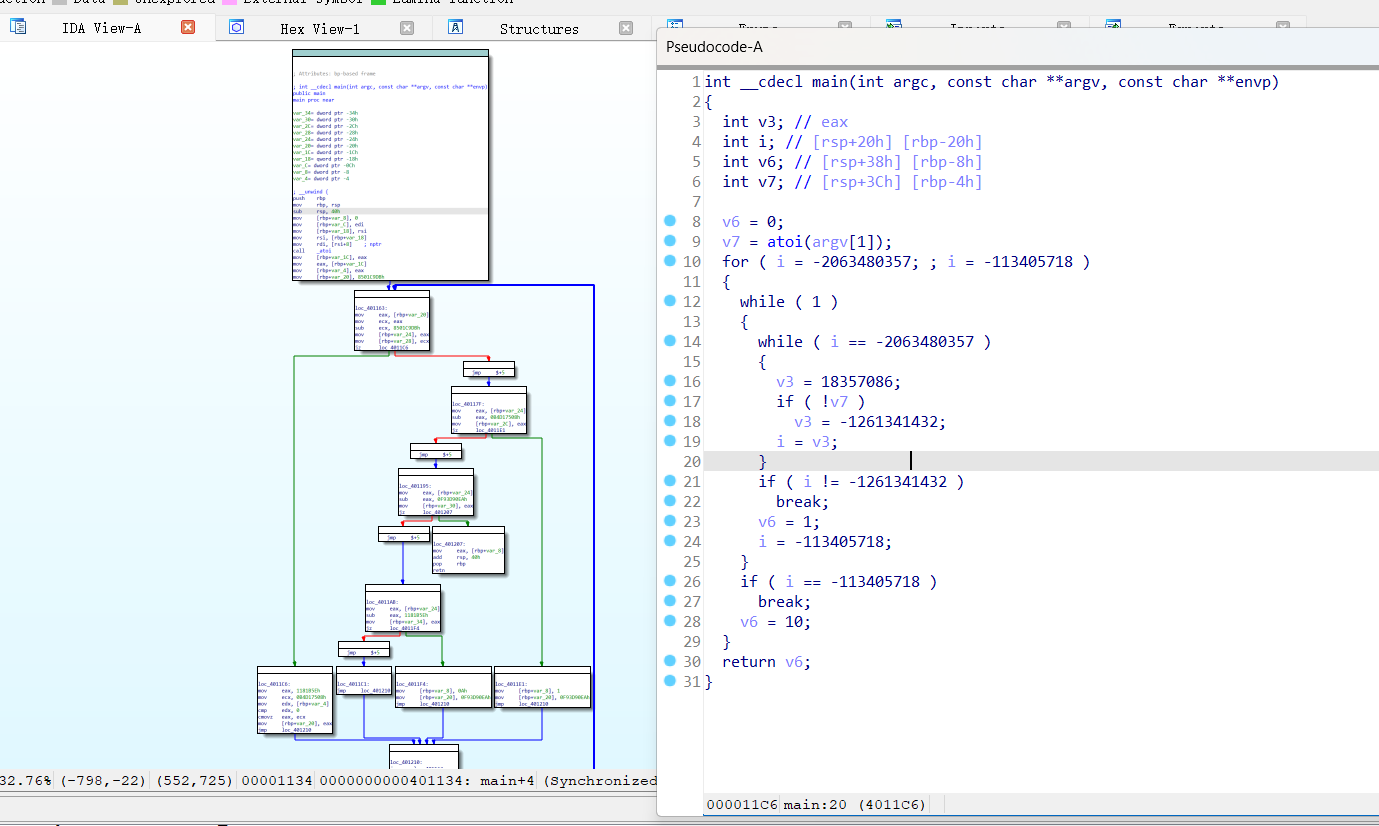
根据之前看过的论文,控制流平坦化是使用switch-case结构,通过路由变量来控制代码流。不过这里的IDA识别成了循环🧐。
再来看一下带基本块分隔的混淆指令:
1 | |
对应的混淆结果:
分隔基本块之后再平坦化,从控制流图来看,貌似好像知道了平坦化大概是指什么了。混淆后的代码里面到处都是if-else分支,一个简单的源代码混淆后变成如此复杂,看来这功能是相当不错的嘛。
3.4 函数注解
用于指定哪些函数要混淆,使用什么样的混淆。
例如只对int fun()函数进行fla混淆,那么可以这样声明:
1 | |
如果想对同一函数使用多个注解,比如对int fun()函数进行fla和sub混淆,可以这么声明:
1 | |
也可以使用反标志来禁止对某函数进行混淆,例如对int fun()函数禁止bcf混淆,可以这么声明:
1 | |
参考:
https://github.com/obfuscator-llvm/obfuscator/wiki/Installation
https://github.com/obfuscator-llvm/obfuscator/issues/77
跟着铁头干混淆2 ubuntu20.04编译ollvm - 简书 (jianshu.com)
https://github.com/obfuscator-llvm/obfuscator/wiki/Instructions-Substitution
https://github.com/obfuscator-llvm/obfuscator/wiki/Bogus-Control-Flow
https://github.com/obfuscator-llvm/obfuscator/wiki/Control-Flow-Flattening
https://github.com/obfuscator-llvm/obfuscator/wiki/Functions-annotations